In the hyper-competitive world of live streaming, first impressions are everything. When a new viewer clicks on your Twitch channel, they make a judgment within seconds based on two primary factors: how you look and how you sound. While personality and gameplay are the engines of a successful channel, technical polish is the chassis that holds it all together. You don’t need a Hollywood budget to look professional, but you do need to master the settings within your streaming software (like OBS Studio or Streamlabs).
This guide will walk you through the optimal audio and video configurations to ensure your stream is crisp, clear, and professional.
1. The Video Foundation: Resolution and Frame Rate
The most common mistake new streamers make is attempting to stream at 1080p 60fps with insufficient hardware or bandwidth. On Twitch, a high-quality 720p stream often looks better than a blurry, artifact-heavy 1080p stream.
Resolution (Base vs. Output)
- Base (Canvas) Resolution: This should match your monitor’s native resolution, typically 1920×1080.
- Output (Scaled) Resolution: This is what your viewers see. For most non-partnered streamers, 1664×936 (936p) or 1280×720 (720p) is the “sweet spot.”
- Why 936p? It is divisible by 8 (which encoders prefer) and provides a sharper image than 720p without demanding the massive bitrate required for a clean 1080p signal.
Frame Rate (FPS)
For fast-paced games (First-Person Shooters or Racing games), 60fps is essential for smooth motion. For “Just Chatting” or turn-based strategy games, 30fps is perfectly acceptable and allows you to use a lower bitrate while maintaining high image clarity.
2. Bitrate: The Quality Bridge
Bitrate is the amount of data you send to Twitch per second. If your bitrate is too low for your resolution, your video will look “pixelated” or “crunchy” during high movement.
- 1080p / 60fps: 6,000 kbps (The maximum for most users).
- 936p / 60fps: 5,000 – 6,000 kbps.
- 720p / 60fps: 3,500 – 4,500 kbps.
- 720p / 30fps: 2,500 – 3,500 kbps.
Pro Tip: If you aren’t a Twitch Partner, you aren’t guaranteed “Transcoding” (the ability for viewers to lower the quality on their end). If you stream at 6,000 kbps, viewers with slow internet will experience constant buffering. Aiming for 4,500 kbps at 720p/60fps is the safest way to ensure your stream is accessible to everyone.
3. Choosing the Right Encoder
The encoder is the engine that converts your gameplay into data. You have two main choices:
- NVIDIA NVENC (New): This uses a dedicated chip on your NVIDIA graphics card. It is widely considered the best option for single-PC setups because it puts almost zero strain on your CPU, allowing your game to run smoothly while maintaining high visual quality.
- x264 (CPU): This uses your processor. While it can produce a very high-quality image at “Slow” or “Medium” presets, it requires a powerful multi-core CPU and can cause “stuttering” in games if the CPU becomes overloaded.
Recommendation: If you have an NVIDIA RTX card, use NVENC. Set your Rate Control to CBR (Constant Bitrate) and your Preset to P6 or P7 (Quality).
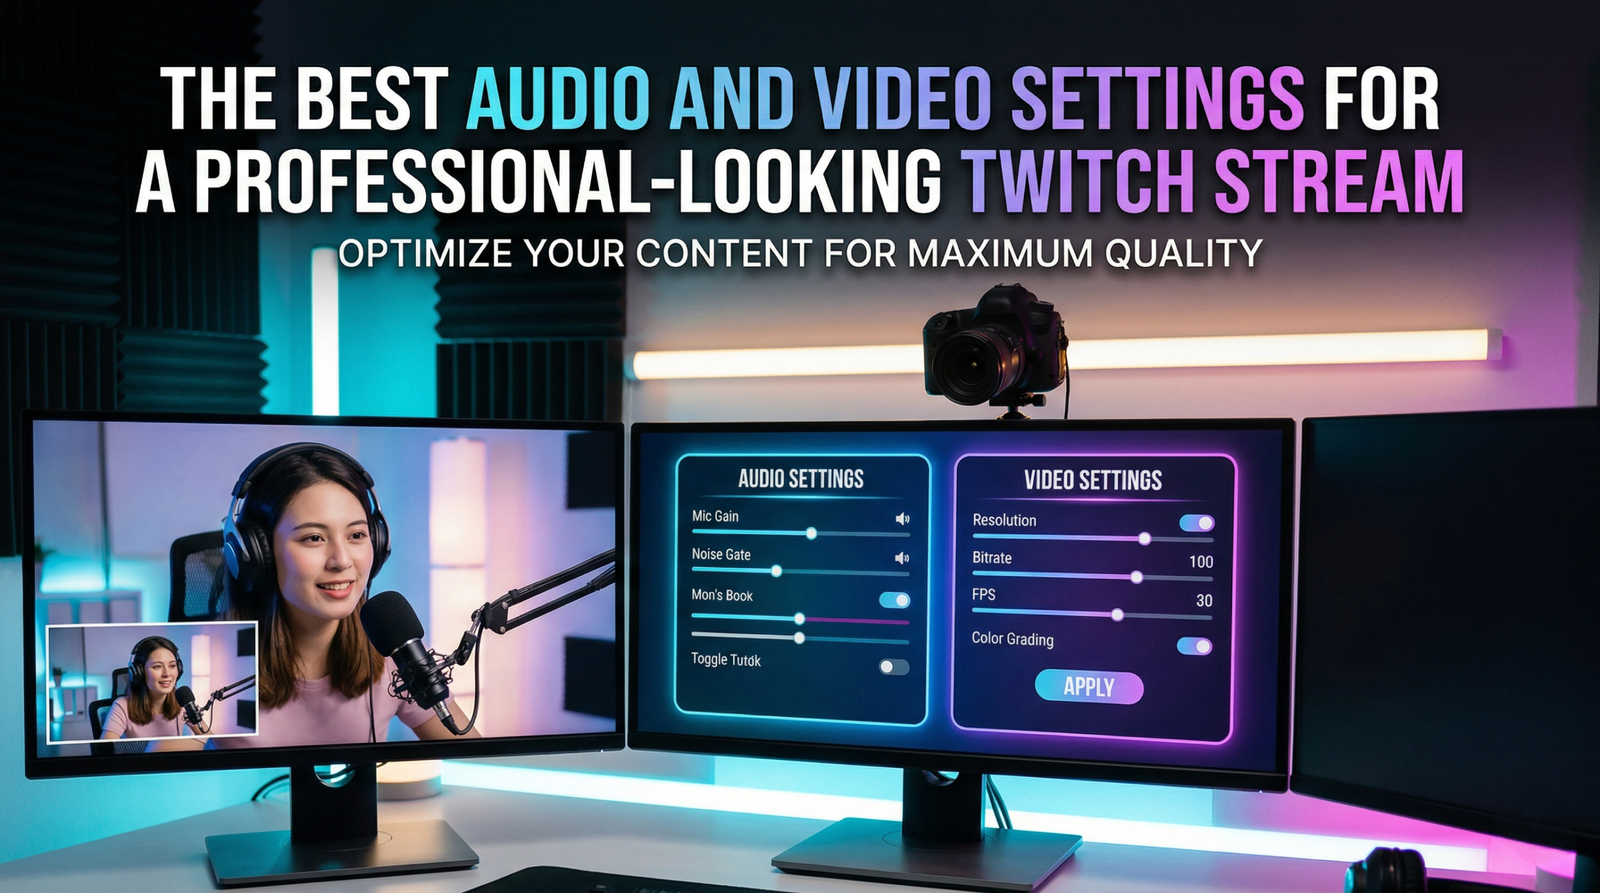
4. Audio Settings: The Secret to Retention
Viewers will tolerate a mediocre webcam, but they will leave immediately if your audio is peaking, buzzing, or muffled. Professional audio requires more than just a good microphone; it requires proper software processing.
Sample Rate and Bitrate
In your OBS settings, ensure your Sample Rate is set to 48kHz. This is the industry standard and prevents desync issues. Set your Audio Bitrate to 160kbps or higher.
The Essential Audio Filters
Right-click your Microphone source in OBS and add these filters in this specific order:
- Noise Suppression: Use the “RNNoise” method to remove background hums, AC noise, or PC fans.
- Noise Gate: This shuts the mic off completely when you aren’t speaking, preventing keyboard clicks from bleeding through.
- Compressor: This is the most important filter. It “squashes” loud sounds (like yelling) and boosts quiet sounds (like whispering) so your volume remains consistent.
- Limiter: Set this to -3.0dB. This acts as a hard ceiling, ensuring that no matter how loud you get, you never “clip” or distort your viewers’ speakers.
5. Lighting and Camera Optimization
A $2,000 DSLR will look terrible in a dark room, but a $50 webcam can look professional with great lighting.
Three-Point Lighting
- Key Light: Your main light source, placed at a 45-degree angle in front of you.
- Fill Light: A softer light on the other side to fill in shadows.
- Backlight (Rim Light): A light behind you to separate you from the background, creating a 3D effect.
Camera Settings
In your camera’s properties, disable “Auto Exposure” and “Auto White Balance.” These settings cause your camera to constantly flicker and shift colors. Manually set your exposure so your skin looks natural and lock your white balance to a specific temperature (usually around 4500K to 5500K depending on your lights).
6. Network Stability: Wired is King
Professional streams do not happen over Wi-Fi. Interference and signal drops are the enemies of a stable broadcast. Always use an Ethernet cable.
To find your optimal bitrate, test your upload speed and use only 70-80% of your total capacity for the stream. This leaves “headroom” for the game itself and other background processes. If your upload speed is 10 Mbps, a 6 Mbps (6,000 kbps) bitrate is perfectly safe.
7. Testing and Monitoring
Before going live, use the Twitch Bandwidth Test tool or the “Twitch Inspector” website. These tools allow you to run a “dummy” stream to check for dropped frames and connection stability without actually appearing on your followers’ feeds.
In OBS, keep the Stats Dock open. If you see “Frames Missed due to Rendering Lag,” your GPU is overloaded. If you see “Skipped Frames due to Encoding Lag,” your CPU is struggling. Adjust your settings downward until those numbers hit 0.0%.
Conclusion
Achieving a professional-looking Twitch stream is a balancing act between your hardware capabilities, your internet bandwidth, and your software configuration. There is no “one size fits all” setting, but by following the principles of optimized bitrate, clear audio filtering, and manual camera control, you place yourself ahead of 90% of the streamers on the platform.
Remember that technical quality is a tool to enhance your content, not replace it. Once your 936p video is crisp and your audio is perfectly leveled through a compressor and limiter, the technology fades into the background, allowing your personality and community engagement to take center stage. Start with a stable 720p/60fps foundation, master your audio filters, and gradually upgrade your lighting. With these settings dialed in, you provide your audience with a polished, broadcast-quality experience that keeps them coming back stream after stream.